Scrog Tip #3 - Net/Screen Holes

Ever since I started this journey, my inbox has been flooded with photos of people’s “Scrog Nets.” Now, we all have to start somewhere, and trust me I’ve made my fair share of mistakes! But to be truly considered a “Scrog Net” you need to have small hole/screen sizes. Let me explain…
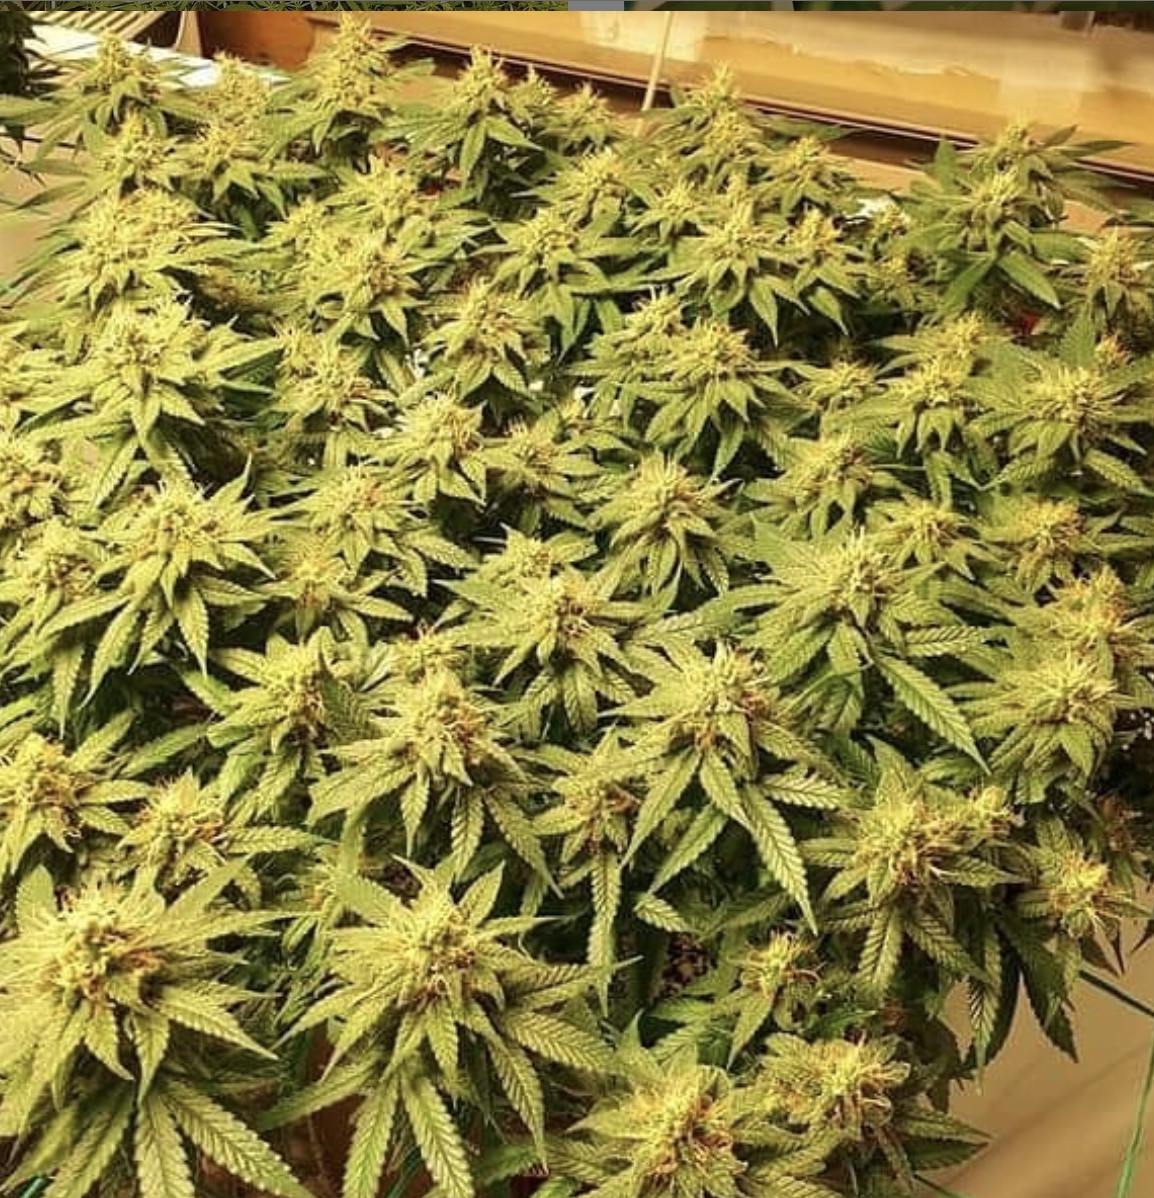
As I said, when I started out I tried a few different hole sizes ranging from 4-6”. I felt like I was always waiting so long for the plant to grow and for me to tuck it again. The horizontal growth- which is so important to the scrog technique was limited, and it simply didn’t look like some of the beautiful scrogs that I’ve seen in pictures.
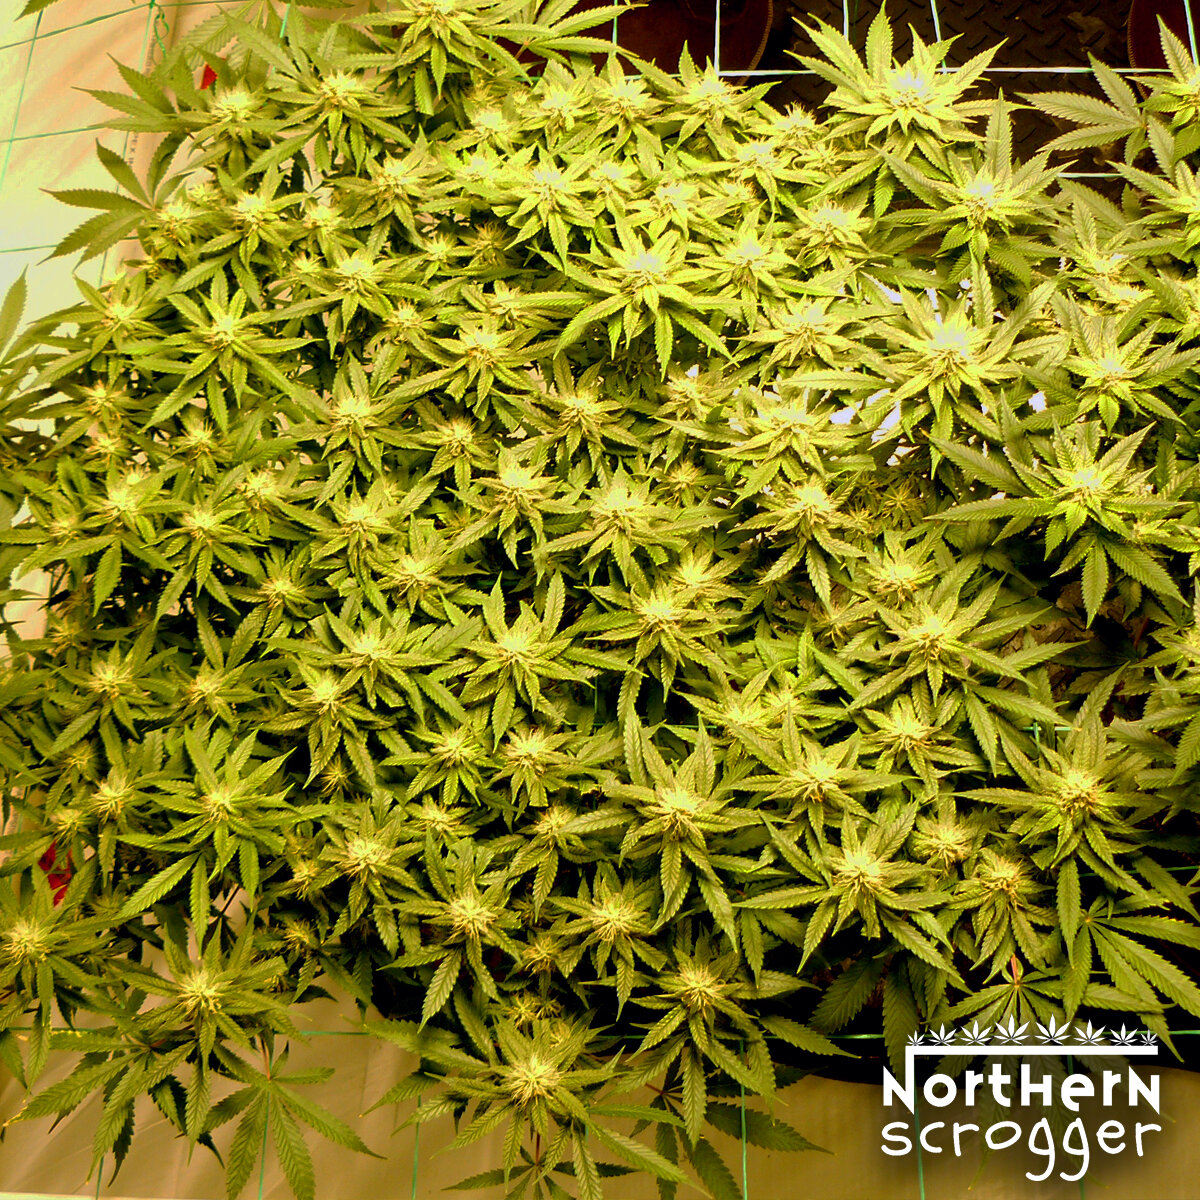
When I started making the scrog holes 2.5”-3.5”, I noticed a huge difference. I was able to keep the plants down, so that they were growing horizontally under the screen. It was easier for me to control the branches and train the plant to grow below the net. By stretching the plant out as much as possible horizontally, I was able to tuck sooner. The result? Increased buds and overall harvest yield!!
In my previous article on Building Your Scrog Net, I spoke about weaving the twine so that your scrog net isn’t floppy, and is able to support the weight of the plants. The smaller your hole size , the easier it is to keep your holes from stretching and the tighter your scrog screen will be. Therefore, the plants won’t push up as much, leaving you with an even canopy. A strong and healthy plant will put pressure on the net, so you need to ensure that your twine is secured to the frame, and that your frame is secured to the floor.
I hope that these tips will help you to grow the Monster Scrog that all your friends will envy, but remember… I am no expert, these are just techniques that have worked for me in my small scale, at home harvests. Thanks for visiting my site and remember, practice makes better! 🌱- #NorthernScrogger